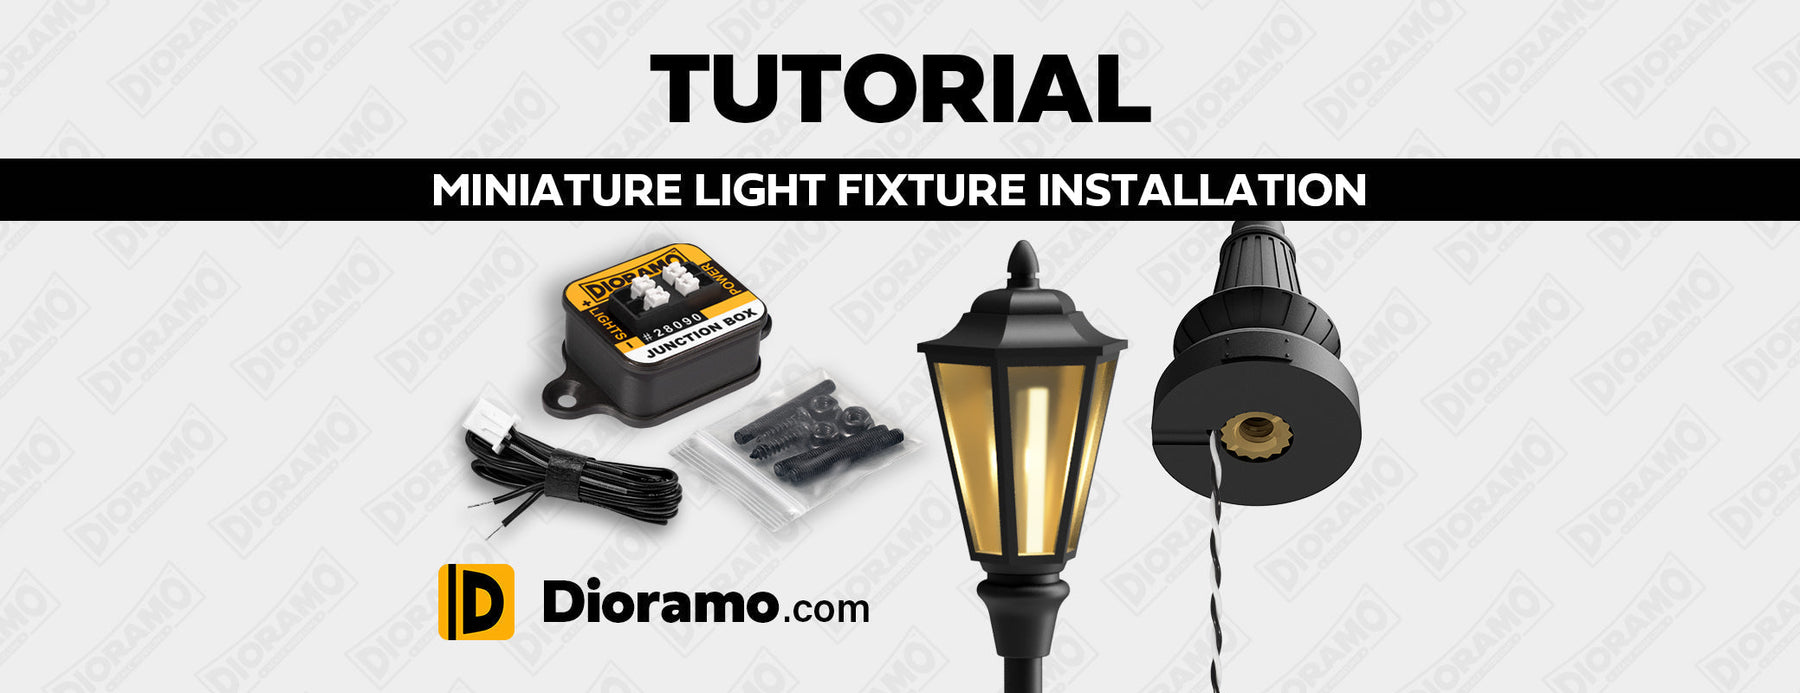
Miniature Light Fixture Installation Guide
You have two mounting options:
A. “Keel” method:
Securing the light fixture into the mounting surface, without accessing it from behind or underneath.
or
B. “Fastening” method:
Securing the light fixture using a hex nut from behind or underneath the mounting surface.

A: Keel method
Step 1:
- Thread the rod only one turn into the light fixture.
- Be careful not to thread the rod further into the light fixture. This can damage the internal wiring.
- Tip: Securing the rod to the fixture with a drop of Threadlocker will help prevent it from threading in deeper.
Step 2:
- Drill a hole into your mounting surface. The hole should be deeper than the length of the rod protruding from the fixture.
- The drill size depends on the hardware of your light fixture:
- For M2 hardware: use a 2mm drill bit.
- For M3 hardware: use a 3mm drill bit.
Step 3:
- Feed the wires out through the side notch in the fixture’s base. Lay the wires on top of the mounting surface.
- Insert the rod into the hole. The rod, acting like a keel on a sailboat, should hold the fixture upright.
- The rod may also be secured into the hole with a thin layer of permanent glue or a removable putty, like blue tack.
Step 4:
- Hide the wires in the surface or scenery.
- Be careful not to damage the wires during installation.
Step 5:
Important:
Connect your Light Fixtures and Feeder cable to the Junction Box before connecting it to the Dioramo Lighting System or Power Supply. This will help prevent open wire ends from touching one another, causing a short circuit.
- Connect the light fixture wires to the Junction Box.
- Light Fixtures containing up to 15 LED lights combined may be connected to one Junction Box.
- To connect your wires, push down on the white spring connectors using a screwdriver and insert the wire ends into the two “LIGHTS” terminals.
- Black wire goes into the Negative (-) terminal. The wire with the White Mark goes into the Positive (+) terminal.
- Connect the Dioramo Lighting System Feeder Cable wire ends to the “POWER” terminals on the Junction Box. The wires may be connected any way around.
- Plug the Feeder Cable’s JST Plug into any Dioramo Lighting System Light Port.
- Alternatively, you may connect your own 9 to 17 Volt AC, DC, or DCC power source to the Junction Box. For more information, see the Technical Specifications for the Junction Box #28090.
- Without using the Junction Box, a light fixture requires 3V at a limited current of 20mA. Incorrect power requirements will damage the LED.
B: Fastening method
Step 1:
- Thread the rod only one turn into the light fixture.
- Be careful not to thread the rod further into the light fixture. This can damage the internal wiring.
- Tip: Securing the rod to the fixture with a drop of Threadlocker will help prevent it from threading in deeper.
Step 2:
- Drill a hole through your mounting surface.
- The drill size depends on the hardware of your light fixture:
- For M2 hardware: use a 3mm or 1/8" drill bit.
- For M3 hardware: use a 4mm or 5/32" drill bit.
Step 3:
- Feed the wires through the hole.
- Insert the rod into the hole.
- The wires should run down alongside the rod.
- Optionally, the wires can run along the surface as shown in the keel method.
Step 4:
- Loosely fasten the hex nut to the rod and secure the light fixture to the surface.
Important:
- Do not thread the rod deeper into the fixture during fastening.
- The fixture should remain stationary during fastening.
- Be careful not to damage the wires during fastening.
- Do not overtighten. Overtightening will damage the light fixture.
Step 5:
Important:
Connect your Light Fixtures and Feeder cable to the Junction Box before connecting it to the Dioramo Lighting System or Power Supply. This will help prevent open wire ends from touching one another, causing a short circuit.
- Connect the light fixture wires to the Junction Box.
- Light Fixtures containing up to 15 LED lights combined may be connected to one Junction Box.
- To connect your wires, push down on the white spring connectors using a screwdriver and insert the wire ends into the two “LIGHTS” terminals.
- Black wire goes into the Negative (-) terminal. The wire with the White Mark goes into the Positive (+) terminal.
- Connect the Dioramo Lighting System Feeder Cable wire ends to the “POWER” terminals on the Junction Box. The wires may be connected any way around.
- Plug the Feeder Cable’s JST Plug into any Dioramo Lighting System Light Port.
- Alternatively, you may connect your own 9 to 17 Volt AC, DC, or DCC power source to the Junction Box. For more information, see the Technical Specifications for the Junction Box #28090.
- Without using the Junction Box, a light fixture requires 3V at a limited current of 20mA. Incorrect power requirements will damage the LED.
Notes:
- Please handle these miniature light fixtures with care. Although every effort is made to manufacture them as durable as possible, the physical fabrication and material limitations at scale make this challenging.
- Additional Hardware options are available from Dioramo, including longer threaded rods for thicker mounting surfaces, as well as large washers for supporting hex nuts with underlying foam board.
- Dimming the LED Brightness of these Miniature Light Fixtures will greatly increase realism. Dioramo Dimming Modules lets you easily and precisely set the brightness to achieve your scene’s desired mood.


Leave a comment